
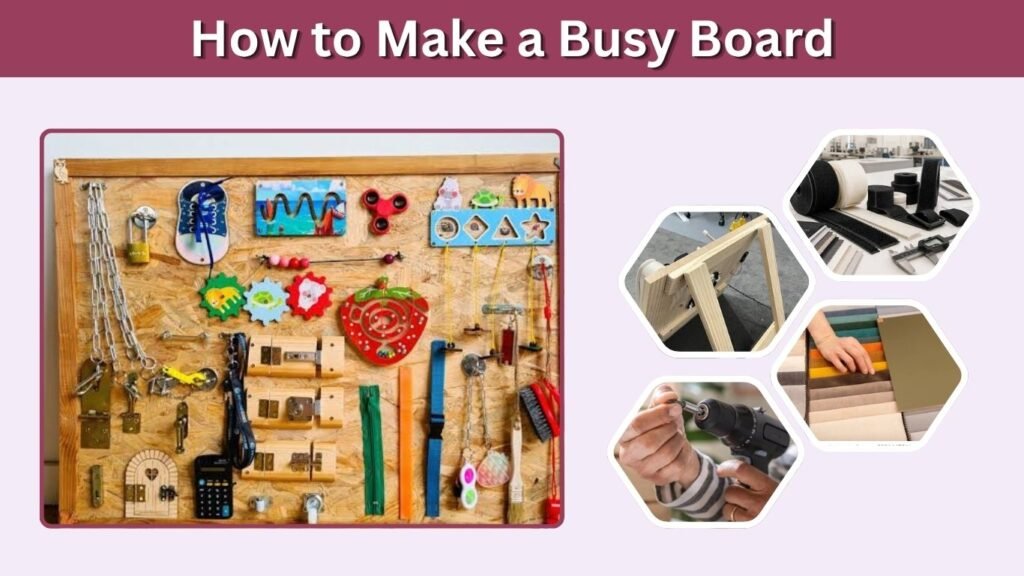
Learning how to make a busy board is a fun and affordable way to create an interactive educational toy for babies and toddlers. A homemade busy board features different textures, movable parts, and simple activities that encourage fine motor development, problem-solving, and sensory exploration. Whether you want a Montessori busy board, a travel-friendly design, or a standing activity board, you can customize it to your child’s interests and abilities. This guide covers essential materials, step-by-step construction, age-appropriate ideas, estimated costs, and important safety considerations.
What Is a Busy Board?
A busy board is an interactive activity panel featuring objects that children can touch, slide, turn, fasten, and explore. Often inspired by Montessori learning principles, busy boards encourage hands-on discovery and independent problem-solving. They can include fabric fasteners, rotating objects, sliding panels, and other securely attached activities designed for children’s developmental stages.
Benefits of Busy Boards for Toddlers
Busy boards offer several developmental benefits when designed with safe, age-appropriate activities.
- Fine motor development: Moving sliders and manipulating fasteners strengthen finger coordination.
- Hand-eye coordination: Children practice controlling movements while interacting with different objects.
- Problem-solving skills: Simple mechanical activities encourage observation and experimentation.
- Sensory exploration: Various textures and shapes introduce different tactile experiences.
- Independent learning: Children can explore activities at their own pace.
- Concentration: Repeated activities provide opportunities to practice attention and persistence.
Materials Needed to Make a DIY Busy Board

Creating a homemade busy board starts with choosing a sturdy base and safe interactive components. Materials should be durable, smooth, and appropriate for the child’s age. Avoid assuming that ordinary household hardware is suitable for children’s toys, since many metal fittings contain pinch points, sharp edges, or detachable components that can cause injuries.
Essential Materials and Tools
- Smooth, unfinished plywood or a sturdy wooden panel
- Fine-grit sandpaper
- Water-based, toy-safe paint or finish
- Large, securely enclosed activity components
- Child-safe fabric fasteners and textured panels
- Appropriately sized mounting hardware
- Drill and screwdriver
- Measuring tape and pencil
- Protective equipment for adult assembly
Choosing a Safe Base
A wooden panel approximately 18 × 24 inches can provide enough space for several activities. Use sturdy plywood with smooth surfaces and rounded corners.
Sand every edge carefully to eliminate rough areas and splinters. Choose finishes appropriate for children’s toys, and allow them to cure fully according to the manufacturer’s instructions.
How to Make a Busy Board Step by Step
Making a busy board involves planning the layout, preparing the base, attaching interactive elements, and checking the finished product. A simple design with a few well-spaced activities is often more useful than a crowded board. Adult assembly and careful testing are essential because children may pull, twist, or place accessible components in their mouths.
Step 1: Plan Your Busy Board Layout
Arrange the selected activities on the wooden panel before attaching anything. Place frequently used elements within easy reach and leave enough room between activities for small hands.
Choose a mixture of textures, basic movements, and simple matching tasks to support different learning experiences.
Step 2: Sand and Prepare the Wooden Surface
Smooth the front, back, corners, and edges with sandpaper. Pay particular attention to drilled holes and cut areas.
Remove sanding dust, then apply a suitable toy-safe finish if desired. Allow the board to dry and cure completely before assembly.
Step 3: Attach Interactive Activities
Use appropriately designed activity components with secure mounting systems. Follow each manufacturer’s assembly instructions and ensure fasteners cannot loosen or become accessible during play.
Avoid protruding screw tips, staples, exposed wiring, magnets, and detachable decorative pieces.
Step 4: Check the Finished Board
Inspect the board for sharp edges, loose fittings, pinch hazards, and possible choking hazards. Test each moving activity gently and verify that the board remains secure during use.
Repeat these checks regularly because components can loosen through repeated pulling and twisting.
How to Make a Montessori Busy Board

A Montessori-inspired busy board focuses on purposeful activities that encourage children to practice everyday movements independently. Instead of adding numerous decorations, choose simple components that develop specific abilities. Activities should be organized logically, allowing children to concentrate on one task at a time without unnecessary distractions.
Montessori Busy Board Activity Ideas
- Fabric fastening: Practice joining large fabric hook-and-loop sections.
- Sliding panels: Move an enclosed slider from one side to another.
- Texture matching: Compare securely attached smooth and textured fabric.
- Color matching: Match large, permanently attached colored shapes.
- Rotating activities: Turn a purpose-built, enclosed activity wheel.
- Fastening practice: Use age-appropriate closures with no removable parts.
Encouraging Independent Exploration
Introduce the board by demonstrating one activity slowly. Allow the child to repeat the movement independently without requiring immediate success.
Observe which activities attract the most interest and adjust the board as the child develops. Montessori-inspired learning works best when activities are accessible, manageable, and appropriate for the child’s abilities.
How to Make a Busy Board for Different Ages
A busy board for a one-year-old should differ significantly from one designed for a three-year-old. Children’s coordination, curiosity, and ability to handle objects change quickly during early development. Age labels alone cannot guarantee safety, so consider whether the child mouths objects, pulls strongly on attachments, or can understand simple instructions.
Busy Board for a 1-Year-Old
For a one-year-old, prioritize simple textures, large integrated moving parts, and sturdy construction. A commercially manufactured activity panel designed for the child’s age is generally the safer choice.
Avoid detachable pieces, exposed hardware, cords, and complicated mechanical fittings. Provide continuous adult supervision during exploration.
Busy Board for a 2-Year-Old
Two-year-olds often enjoy interactive tasks that involve pushing, sliding, opening, and matching.
A toddler busy board can feature large enclosed sliders, securely fixed fabric closures, and simple shape-matching activities. Choose durable components designed for young children rather than repurposing standard door hardware.
Busy Board for a 3-Year-Old
Three-year-olds may enjoy more challenging activities that require coordination and problem-solving.
Introduce sequential tasks, color-matching challenges, and carefully designed fastening activities. Keep all parts permanently attached and appropriate for the child’s developmental abilities.
How to Make a Free-Standing Busy Board

A free-standing busy board can be positioned in a playroom without permanently attaching it to a wall. However, stability is especially important because children may push, lean against, or attempt to climb the structure. Poorly designed stands can tip over unexpectedly, so a properly secured wall-mounted board is generally preferable.
Building a Stable Busy Board Stand
For a free-standing design, use a purpose-built, wide-base activity-board structure that has been evaluated for tip-over resistance. Avoid improvised easel legs or lightweight supports.
Position the activities low enough for children to reach comfortably. Do not rely on the board’s weight alone to prevent movement, and never allow children to climb or hang from it.
Wall-Mounted vs. Free-Standing Boards
Wall-mounted boards conserve floor space and can provide greater stability when secured correctly to suitable structural supports.
Free-standing boards offer flexible placement but require careful engineering and stability testing. If you cannot verify that a homemade stand is resistant to tipping, choose a properly mounted alternative.
How to Make a Sensory Busy Board
A sensory busy board emphasizes tactile exploration rather than complicated mechanical activities. It can feature contrasting textures, soft materials, and simple movements that encourage children to compare different sensations. This design may be especially useful for children who prefer quieter, predictable activities or benefit from simplified sensory experiences.
Sensory Materials to Include
- Soft fleece fabric
- Smooth cotton material
- Textured corduroy panels
- Large, securely attached felt shapes
- Soft hook-and-loop fabric patches
- Washable textured surfaces
Busy Board Ideas for Children With Autism
Some autistic children enjoy repetitive movements, predictable activities, or particular textures. However, sensory preferences vary significantly between individuals.
Choose components based on the child’s interests and sensory comfort rather than assuming a particular activity will be beneficial.
Avoid excessively bright lights, loud sounds, or difficult fasteners when they cause discomfort. A busy board can support enjoyable play, but it is not a substitute for individualized developmental or occupational therapy services.
How to Make a Travel Busy Board
A travel busy board should be lightweight, compact, and easy to carry. Soft fabric boards are often more practical than wooden designs because they fit into bags and do not require heavy mounting materials. Choose activities that remain securely attached, especially when traveling in cars, airplanes, or public transportation.
Creating a Portable Busy Board
Use a sturdy fabric panel with integrated activity features, such as enclosed sliders, sewn-in textures, and oversized fabric fastening sections. Reinforce the stitching and inspect every attachment.
Avoid loose accessories, long straps, detachable buttons, and small objects. Never attach a board to a car seat or place it where it could interfere with a child restraint.
How Much Does It Cost to Make a Busy Board?
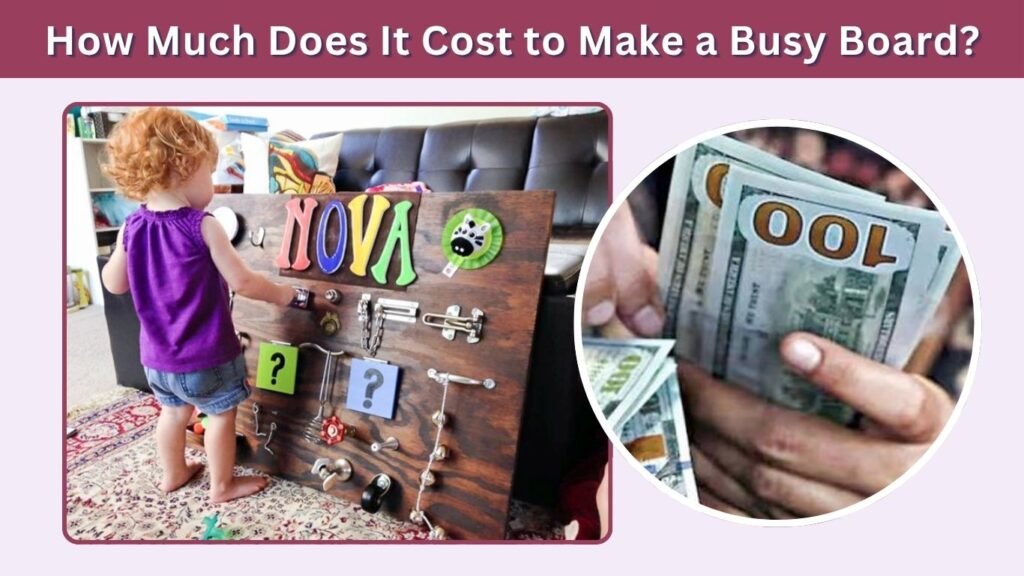
The cost of making a busy board depends on its size, materials, and interactive features. Simple fabric activity boards can be relatively inexpensive, especially when using supplies already available at home. Wooden boards with specialized, child-safe components generally cost more than basic designs.
Estimated DIY Busy Board Cost
| Materials | Estimated Cost |
|---|---|
| Wooden base | $8–$15 |
| Sandpaper and finishing supplies | $5–$10 |
| Child-safe activity components | $15–$30 |
| Mounting hardware | $5–$10 |
| Decorative materials | $3–$8 |
| Total estimated cost | $36–$73 |
These are illustrative DIY budget estimates, not verified current retail prices. Existing tools and materials may reduce the cost.
Safety Tips for Homemade Busy Boards
Safety should remain the main priority when designing any busy board for babies or toddlers. Household materials may appear harmless but can introduce choking, strangulation, electrical, or pinching hazards. In fact, busy boards have been recalled because small attached components could detach. U.S. Consumer Product Safety Commission+1 Regular inspection is essential, and adult supervision cannot make an unsafe component suitable for young children.
Important Safety Precautions
- Avoid small or removable parts that could be swallowed.
- Never use accessible button batteries, loose magnets, or exposed electrical wiring.
- Avoid long strings, elastic cords, and unsecured straps.
- Check for sharp edges, exposed screw ends, and splinters.
- Use securely attached, age-appropriate activity components.
- Keep boards away from stairs and climbing hazards.
- Inspect every component before play.
- Supervise children throughout the activity.
For a light-switch activity, choose a purely mechanical, non-electrical toy switch designed for young children. Do not improvise battery-powered circuitry.
FAQs
1. What Age Is Best for a Busy Board?
Busy boards are commonly designed for children between one and three years old, although suitable activities depend on individual development. Babies and younger toddlers need simple, securely enclosed components without choking hazards. Older children can explore more challenging tasks under appropriate adult supervision.
2. Can You Make a Busy Board Without Wood?
Yes, you can make a busy board using sturdy fabric, felt panels, or a purpose-designed soft activity book. These materials work particularly well for travel-friendly sensory boards. Ensure all activity components are securely integrated and cannot detach during pulling, twisting, or chewing.
3. How Do You Make a Busy Board Splinter-Free?
Choose smooth, quality plywood and carefully sand every edge, corner, and drilled opening. Start with medium-grit sandpaper and finish with finer grit for a smoother surface. Remove dust and apply an appropriate toy-safe finish, allowing it to cure fully before use.
4. Can You Add a Light Switch to a Busy Board?
Yes, but use a non-electrical toy switch designed for children’s activities. Avoid household switches connected to wiring, improvised battery compartments, or exposed circuits. For toddlers, a fully enclosed mechanical switch provides a simpler option without introducing unnecessary electrical hazards.
5. How Long Does It Take to Make a DIY Busy Board?
A simple DIY busy board may require several hours for planning, sanding, and assembling the components. Painting and finishing can extend the process because coatings must dry and fully cure. Always allow additional time for checking attachments and identifying potential safety hazards before play.
